
Published on Jan 14, 2026
SOP
ONO Guide: Enrolling Users, Making Payments
Step 1: User Registration/Login
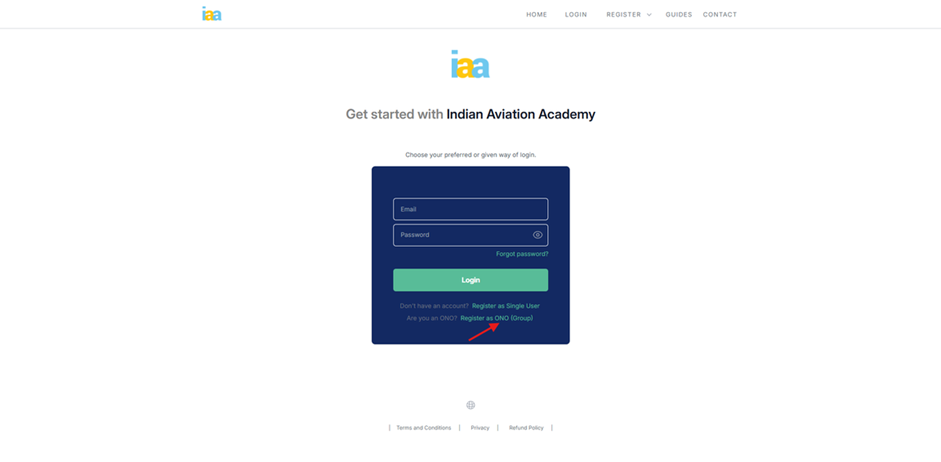
- Step 1.2: If registering for the first time, click Register as ONO (Group) to create an account; otherwise, proceed to Step 1.10.

- Step1.3: Complete the registration form with valid details, then click Terms and Conditions to view the page.
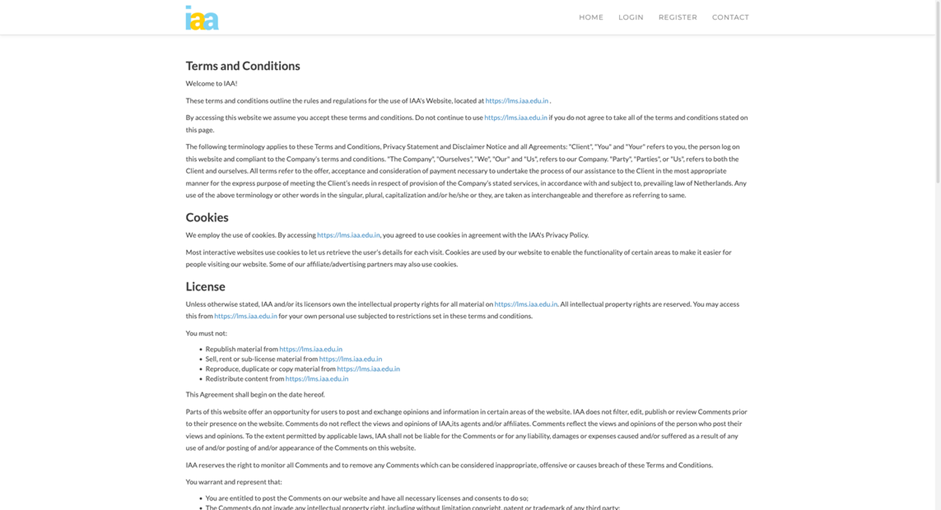
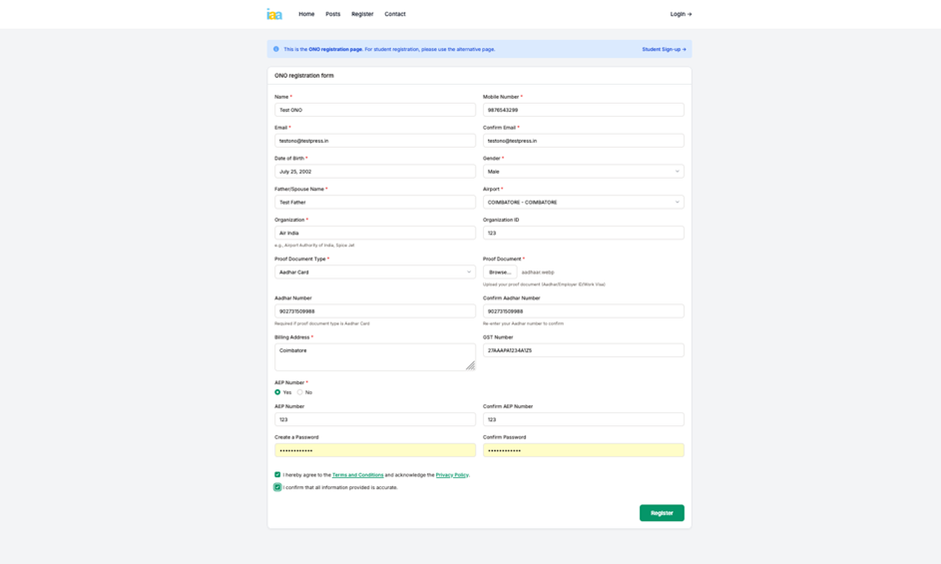
- Step 1.4: Review the Terms and Conditions, confirm your acceptance by checking the box, and proceed by clicking
- Register.
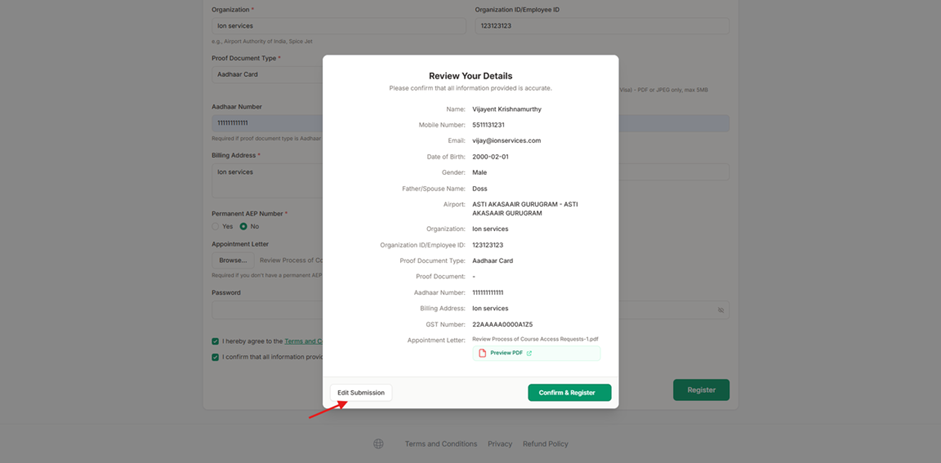
- Step 1.5: After clicking the Register button, a modal will open showing the details you have entered. Review them carefully. If any of the values are incorrect, click on Edit Submission and make the necessary changes.
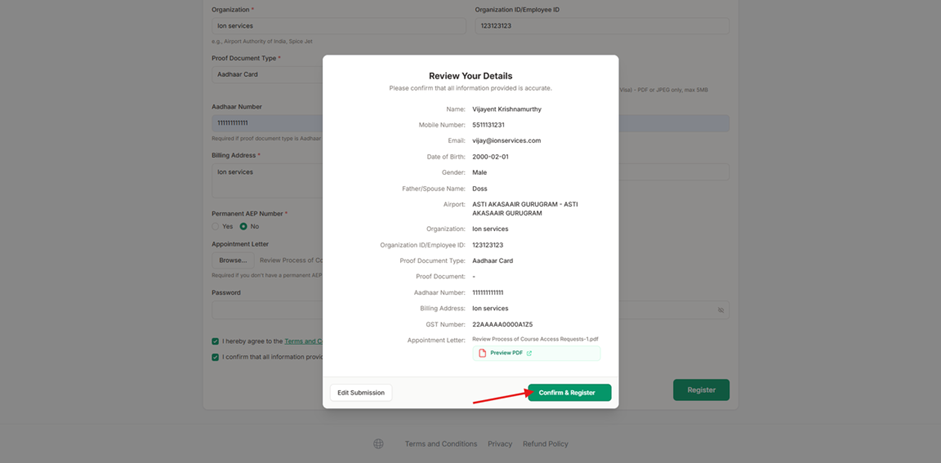
- Step 1.6: If all the information is correct, click on Confirm & Register.
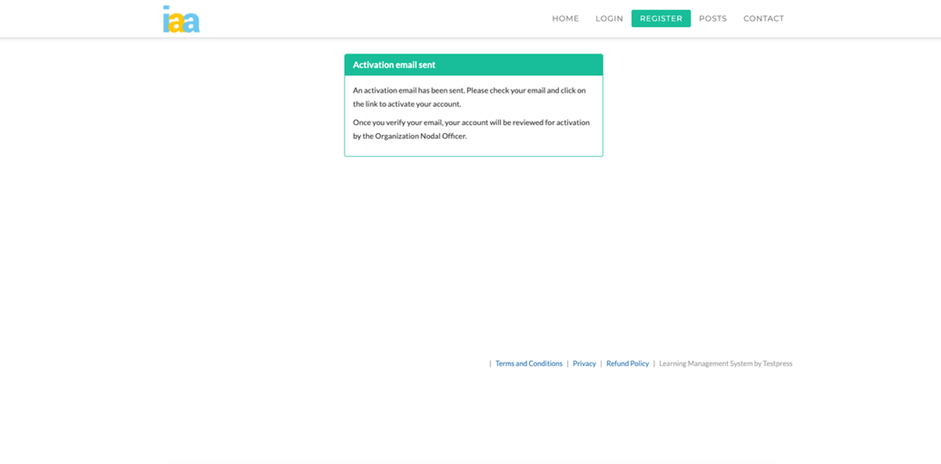
- Step 1.7: After successful registration, the system redirects to the activation page.
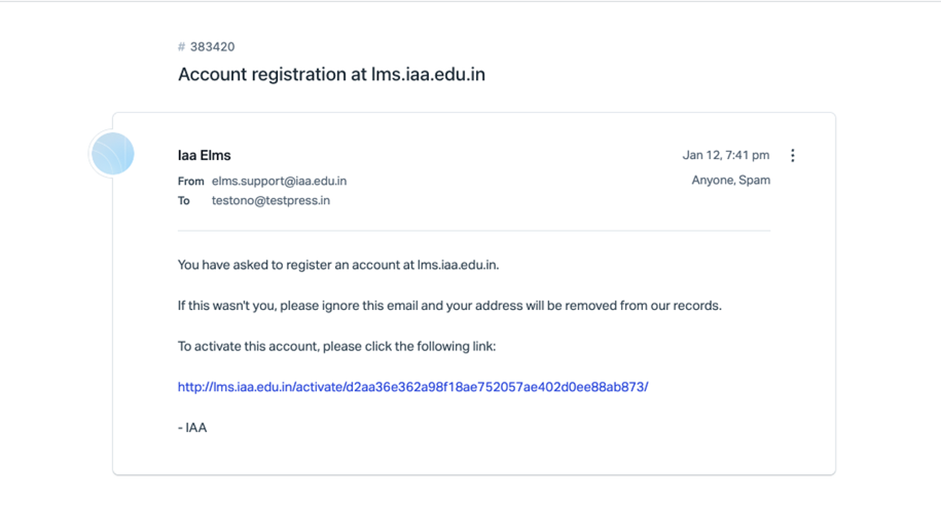
- Step 1.8: An activation email will be sent. Click the link in the email to verify the account.
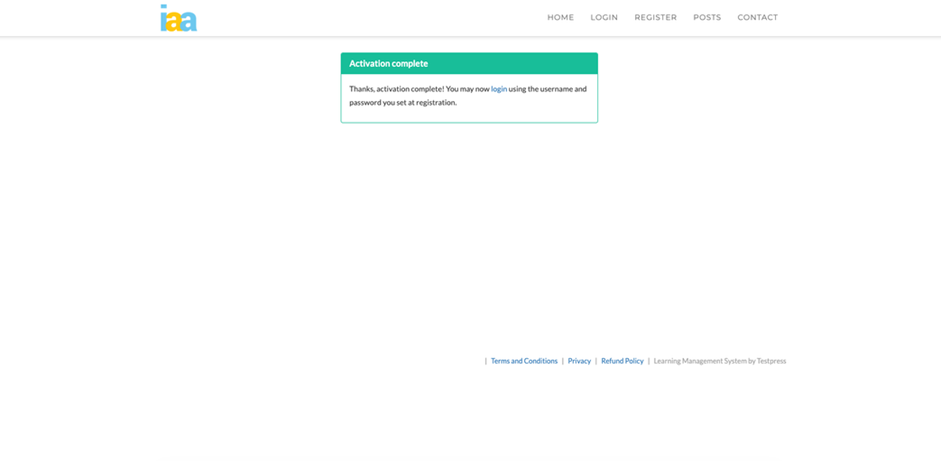
- Step 1.9: Select Login to navigate to the login page.
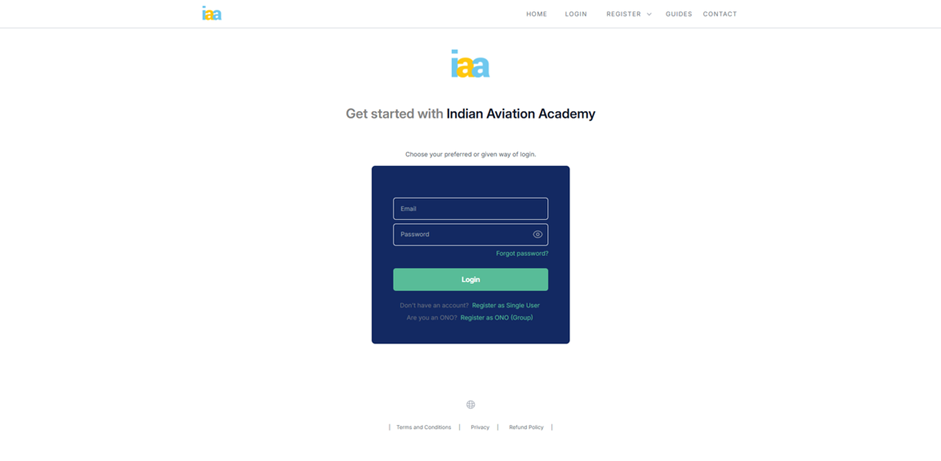
- Step 1.10: Enter your login creadentials and click Login
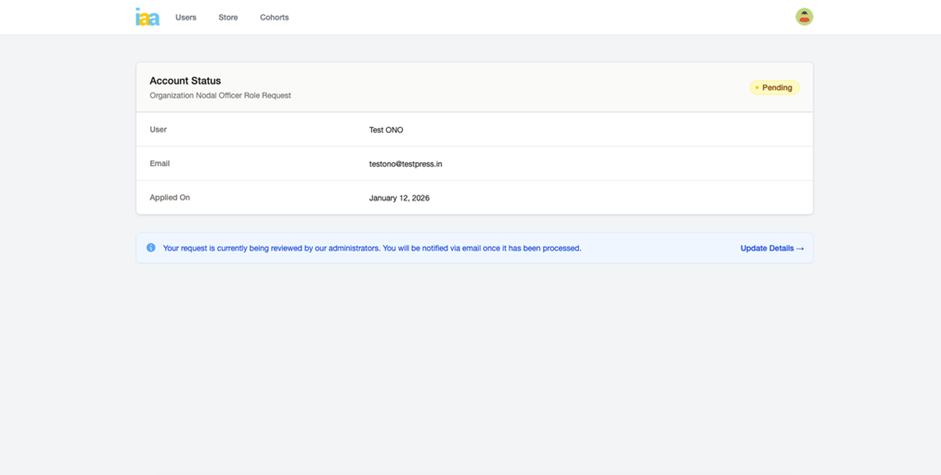
- Step 1.11.: After submitting the ONO registration request, the Account Status page displays the request as Pending, indicating that it is under administrative review.
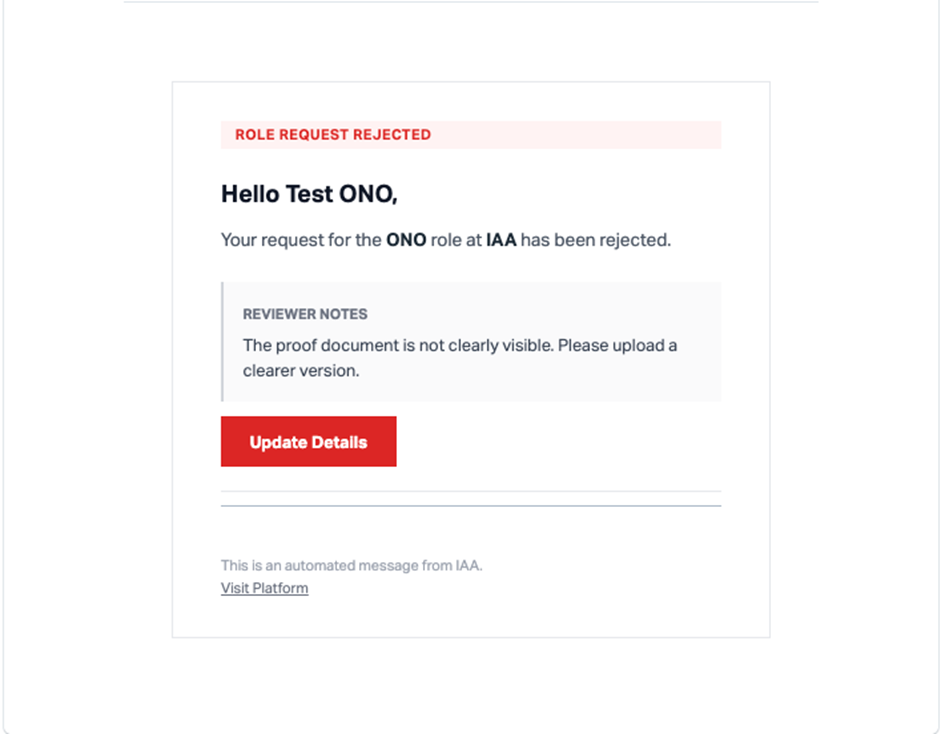
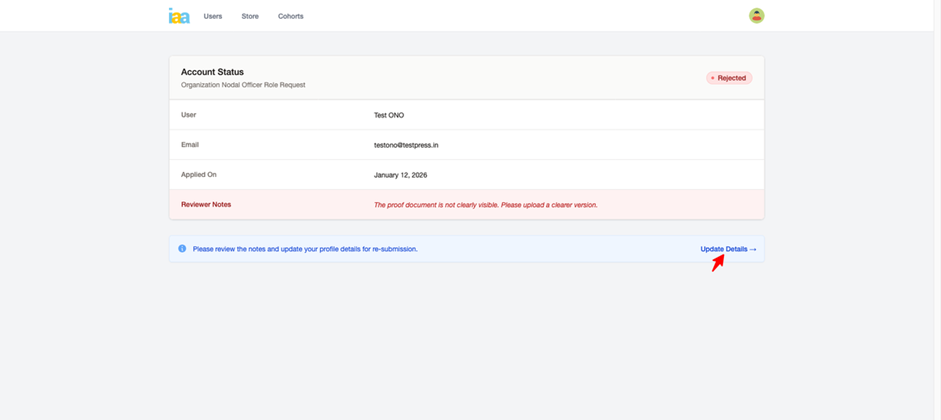
- Step 1.12: If the ONO role request is rejected, an email notification is sent, and the Account Status page is updated to Rejected, along with reviewer notes explaining the reason for rejection.
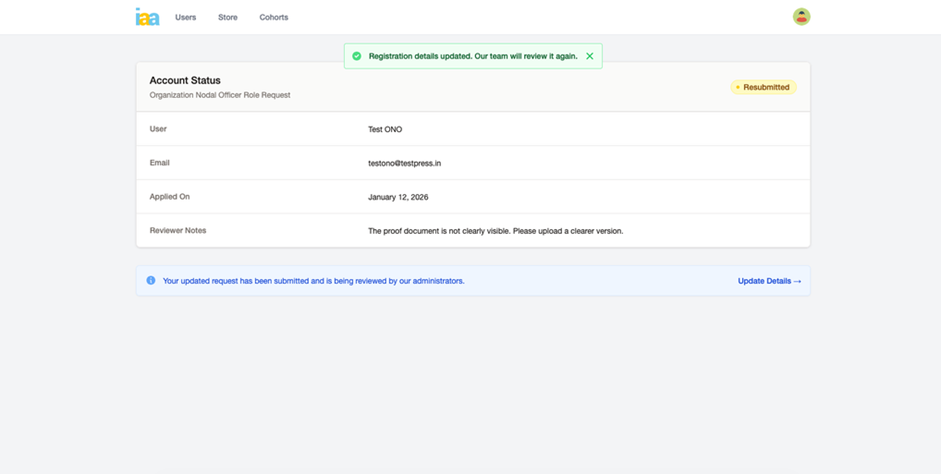
- Step 1.13: Based on the reviewer feedback, registration details are updated and the request is resubmitted, changing the status to Resubmitted for further review.

- Step 1.14: Once the ONO role request is approved, an approval email is received and selecting Go to Dashboard navigates to the ONO dashboard.
Step 2: User & Cohort Management
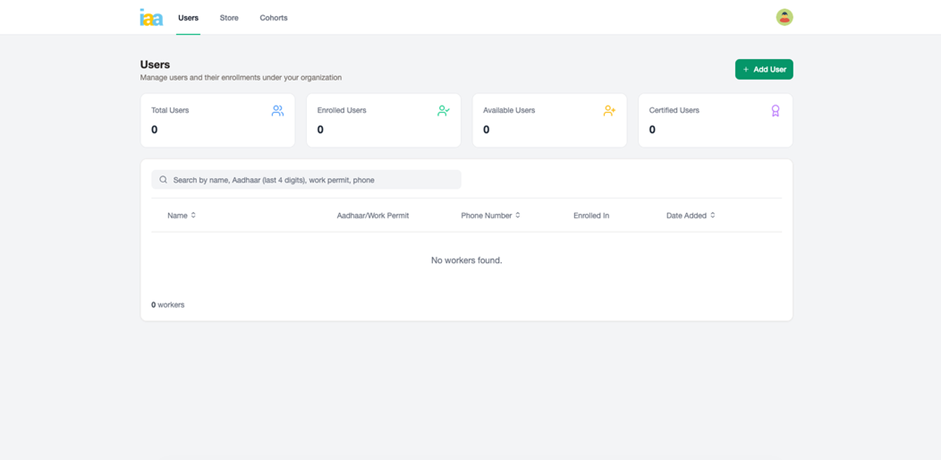

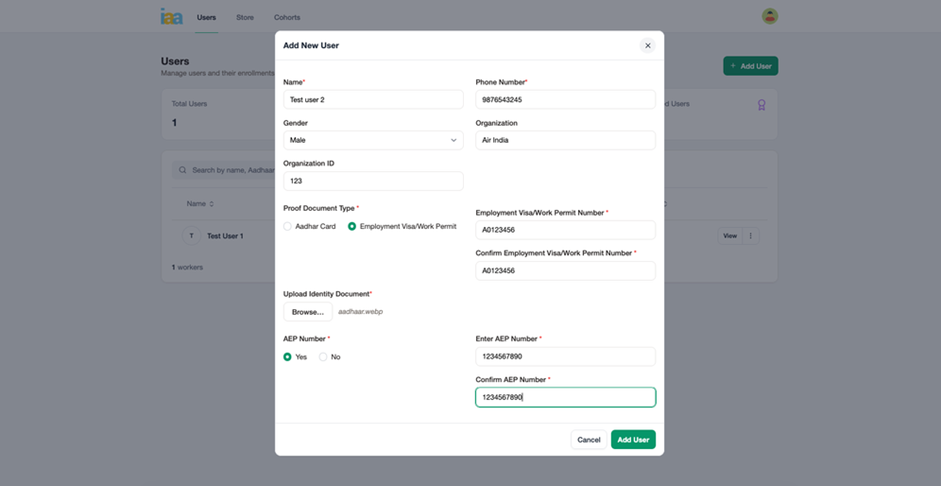
- Step 2.1: From the dashboard, selecting Add User opens th form to register workers by entering personal details and uploading the required identification documents.
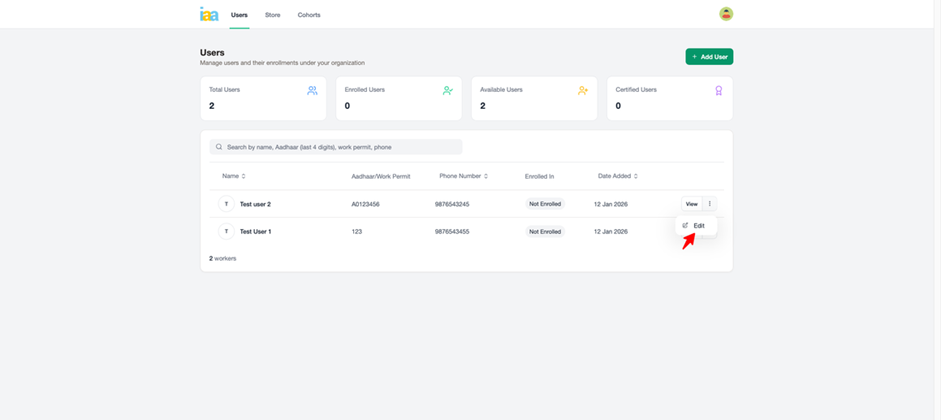
- Step 2.2 : From the Users list, selecting Edit for an existing user opens the Edit User form, allowing updates to user details.
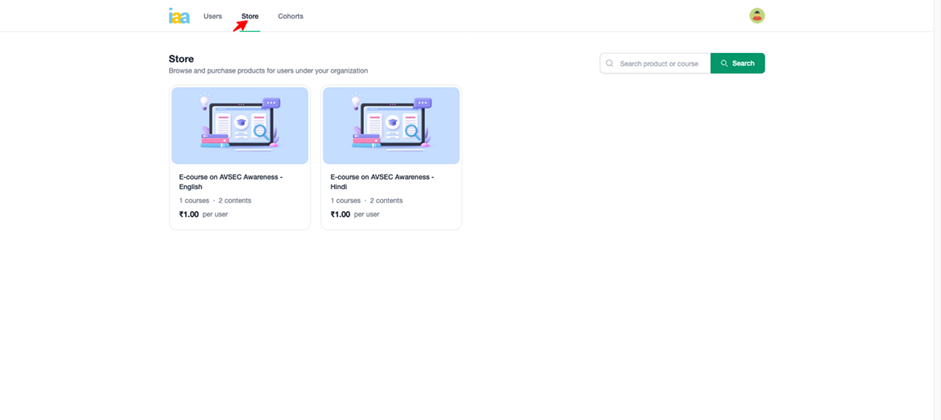
- Step 2.3: The Store section is used to browse and search available courses.
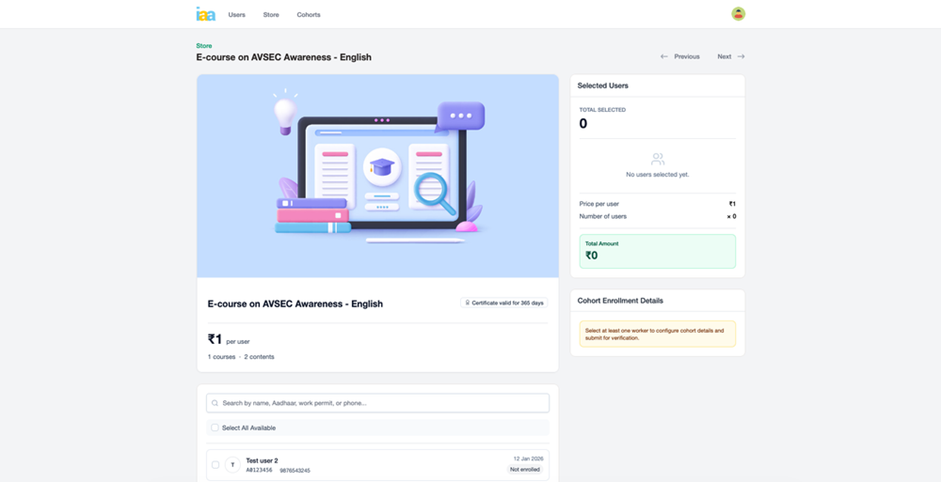
- Step 2.4: Selecting a course opens the course details page, where users can be selected for enrollment, and the total amount is calculated automatically.
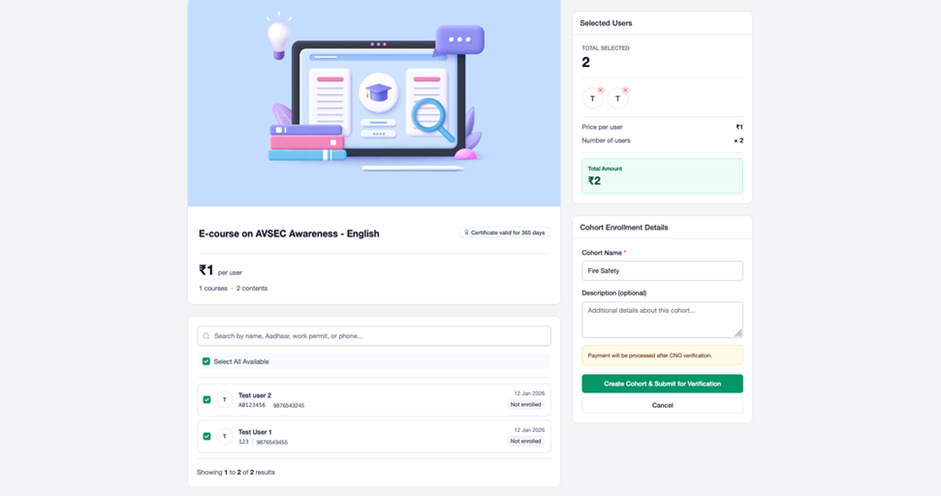
- Step 2.5: After selecting the required users, a Cohort Name is entered and the cohort is submitted for verification using Create Cohort & Submit for Verification.
Step 3: Cohort Verification, Payment & Enrollment
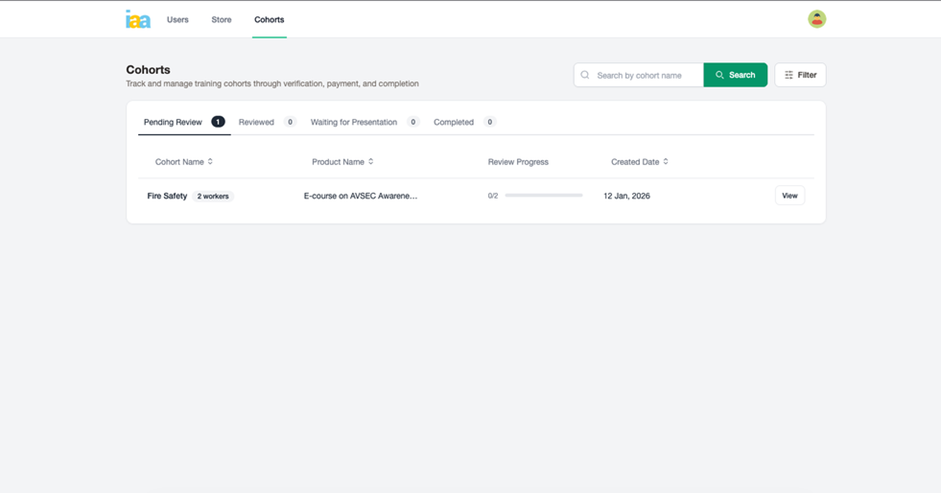
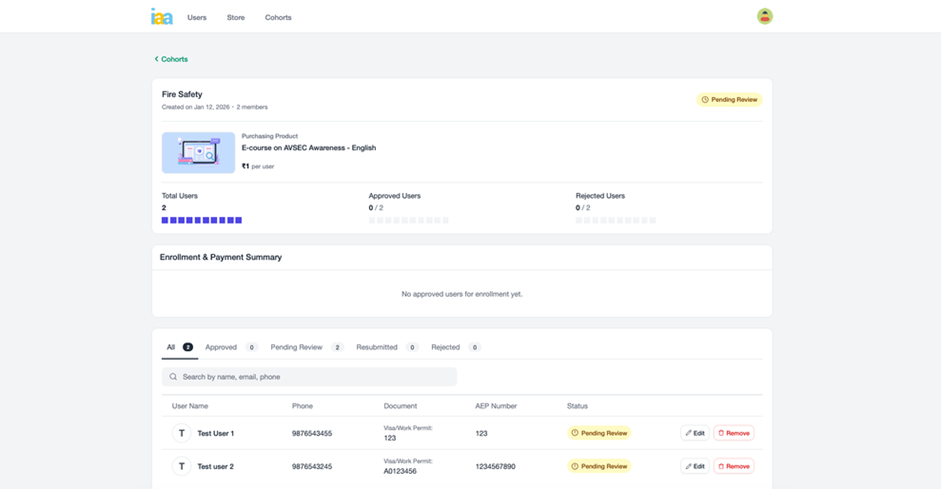
- Step 3.1: The submitted cohort appears in the Cohorts section with a Pending Review status, allowing tracking of review progress and user-level approval status.

- Step 3.5: If any request is rejected by the CNO, an email notification is sent and displays reviewer notes for affected users.
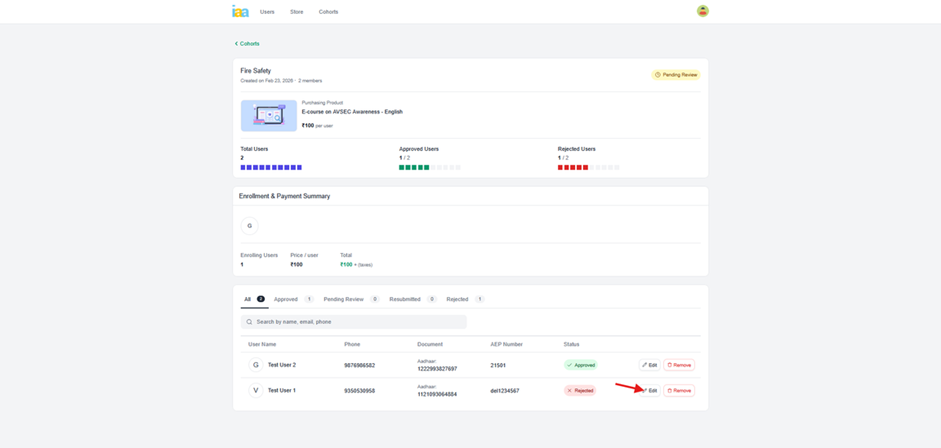
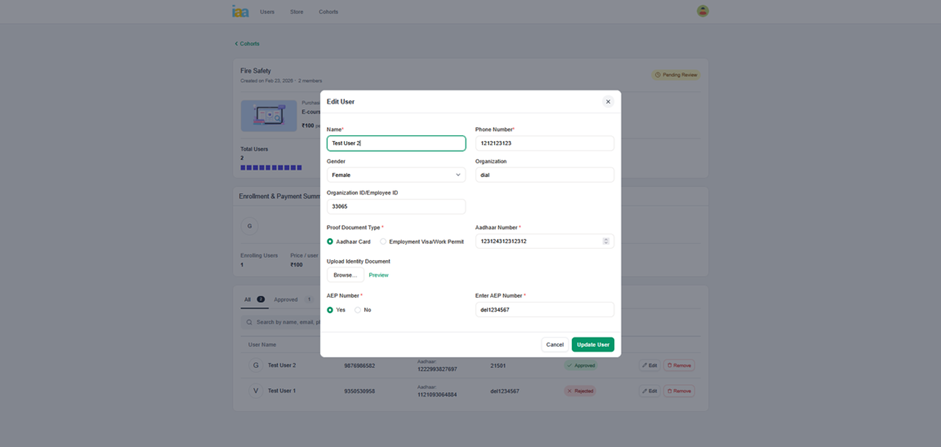
- Step 3.6: Rejected user details are edited based on reviewer feedback, after which the user request status changes to Resubmitted.
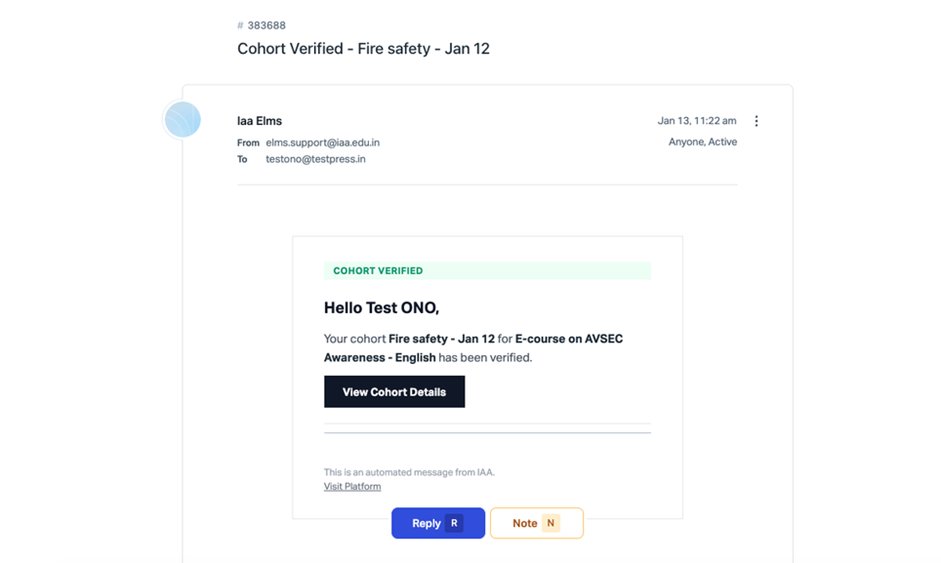
- Step 3.8: After successful verification, a Cohort Verified email notification is sent confirming that the cohort has been approved.
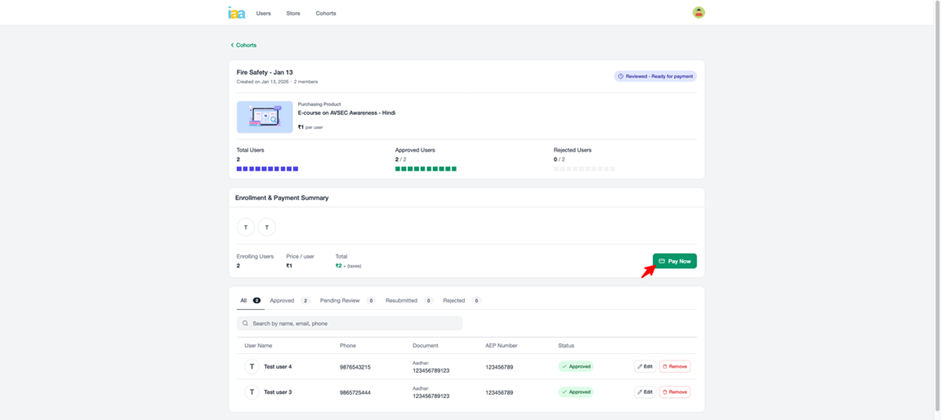
- Step 3.9: When the cohort status changes to Reviewed – Ready for Payment, payment is completed by selecting Pay Now, and a successful payment confirmation with order details is displayed.